Assignment Concept: For this assignment, I wanted to design a model that would show the contrast between the complex curvature of the general form and the bi-dimensionality of each piece that constitute it when using a waffling technique. Below I detail each part of the script and creative process.
Triangular shapes: To get the a smooth curve that would contrast with the box that I wanted to use as support, I decided to use the Graph Mapper, a component that I hadn't used before. After seen a couple tutorials, I came up with the script below, that defines triangular shapes based on a curve defined using two Graph Mappers.
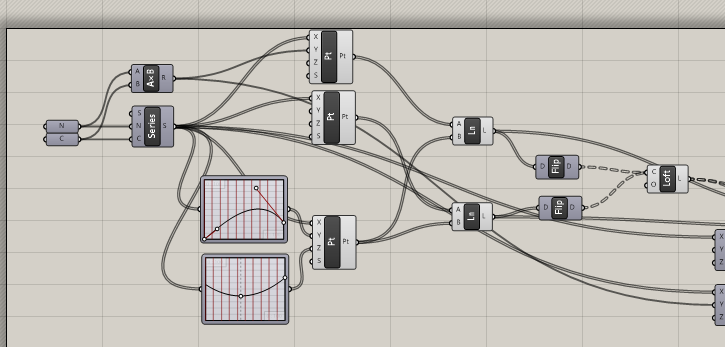 |
| Script for the triangular surfaces |
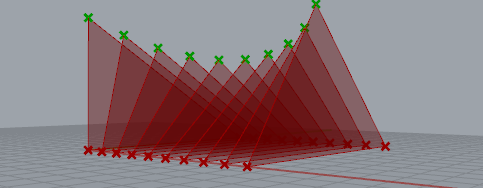 |
| Triangular surfaces defines by 3 point sets, one of them using Graph Mappers |
Cutting the surfaces: The model above seemed too simple for the assingment, so I decided to cut the surfaces in order to get varying cuts in the support when waffling.The void was also created using Graph Mappers.
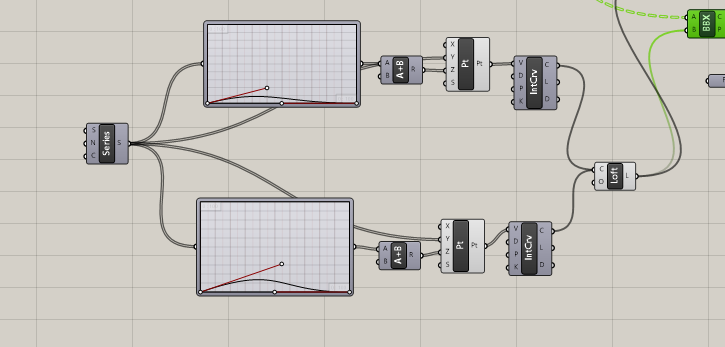 |
| Script for the trimming surface |
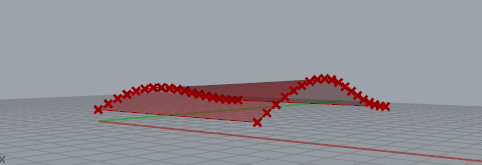 |
| Void that will cut the triangles |
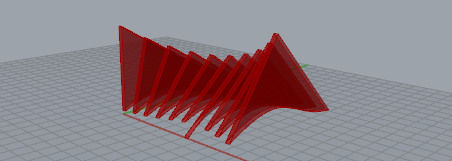 |
| Triangular surfaces trimmed and lofted |
Support: I wanted to make the support element as surfaces that would give the feel of a box, working as a canvas for the more complex shape of the triangular surfaces. For that, I used a 2-point box, moved using a series and then cut. Note that I had to create another void surface in order to make the gaps open in a way that facilitates assembly and gives a feel of order and regularity for the model. I also decided to only make the dents in the structure in order to keep the bottom of the triangles intact, making the design rely on the tight fit of the cardboard.
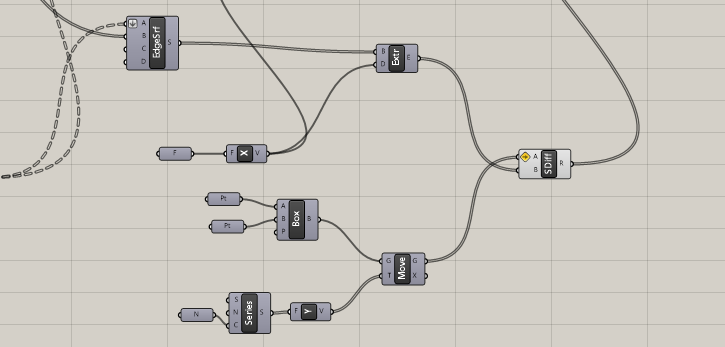 |
| Script for the structural element |
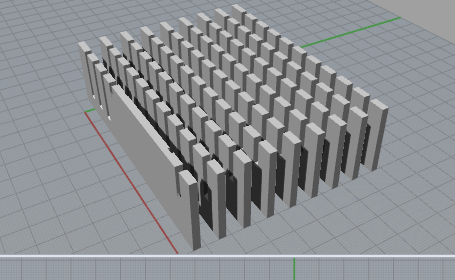 |
| Support elements |
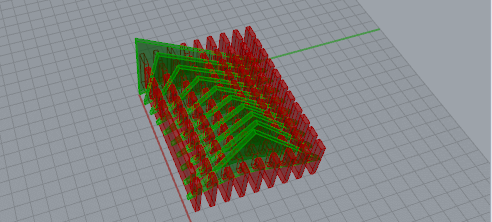 |
Final Design
|
Laser-cutting patterns: Putting the shapes in planes in order to laser cut them was fairly straightforward, with the exception of the supporting elements. Since those where created based in Breps rather than from surfaces, I had to deconstruct them and figure out how to use only the faces I wanted. I managed to do that by removing the items with small areas and them the repeated ones.
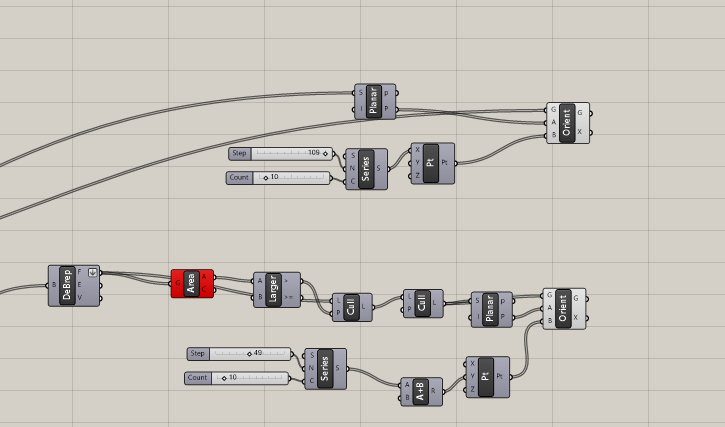 |
| Script for defining the cutting surfaces |
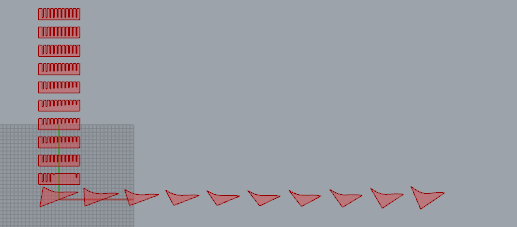 |
| Cutting surfaces |


